 (626) 286-0360
 Airsoft
 Fishing
 Air Gun
 TCG
TCG Events

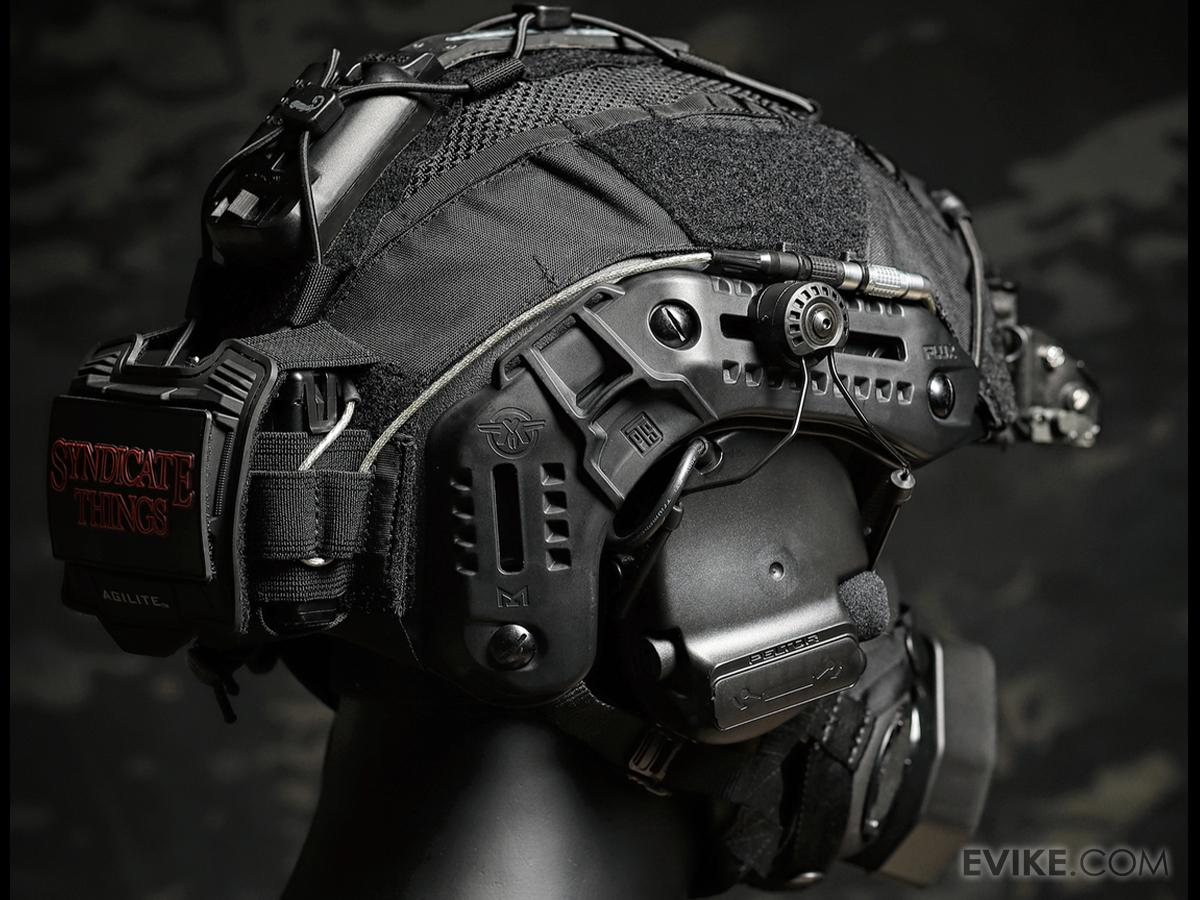
An Airsoft helmet does two jobs. It adds head coverage on the field, and it gives you a platform to mount lights, cameras, comms, and night vision. The best setup isn't the one with the most accessories, it's the one that fits securely, works with your eye and face protection, and carries only equipment that actually serves a purpose.
Setting up your Airsoft helmet is a process, not a single purchase: picking the right shell, dialing in the fit, then customizing and balancing whatever you add from there. That's the order this guide follows too.
Do You Need a Helmet for Airsoft?
Helmets are not always required, but they protect you against BB hits, low ceilings, branches, and walls. Most Airsoft and replica tactical helmets are non-ballistic helmets, not certified gear unless rated. A helmet never replaces field-approved eye or face protection, so build your Airsoft helmet setup around your other Airsoft gear first.
Choose the Right Airsoft Helmet
The right helmet comes down to coverage, weight, fit, and accessory compatibility, so browse Airsoft helmets with the same care you'd give any other piece of gear. That includes your Airsoft guns, your protection, and everything else you plan to mount later.
Bump and Replica Ballistic-Style Helmets
Lightweight bump helmets and replica ballistic-style shells are usually more practical on the field than genuine ballistic helmets. Check each helmet's materials and protection claims, because not every tactical-looking shell performs the same.
High-Cut, Mid-Cut and Full-Cut Helmets
Cut affects coverage and how much room you leave for a comms setup. This table compares the three common options:
Helmet cut | Coverage | Best for |
High-cut | Exposes the ears | Modular builds and headsets |
Mid-cut | Partial ear coverage | Balanced protection |
Full-cut | Full ear and side coverage | Maximum coverage and loadout impression |
Helmet Size and Fit
Measure around the widest part of your head and compare it to the sizing chart. A rotary adjustment dial, chin straps, and padding refine fit, but they cannot fix a wrong-sized shell. When possible, trying the helmet on in person is the fastest way to confirm it feels right.
Rails and Front Shrouds
Most helmets use ARC (Accessory Rail Connector) style rails, M-LOK (Modular Lock) slots, or proprietary rails, plus a front shroud for mounting. The maritime rail found on Ops-Core style helmets is one common example, and the M-LOK rails on Flux style helmets are another.
Knowing your rail type matters, since two helmets that look alike can still need completely different mounts. Verify rail, headset-adapter, and NVG shroud compatibility before buying.
Plan Your Helmet Setup Before Adding Accessories
Start by naming your helmet's main purpose: coverage, CQB (Close Quarters Battle), comms, recording, or night operations. Prioritize the essentials and avoid adding weight just for looks.
Lay out everything you plan to equip your helmet with before installing anything. Confirm that rails, mounts, cables, goggles, and headsets all work together before you commit to any additional accessories.
Adjust the Padding and Retention System
Reposition or replace each pad so the helmet sits level without pressure points. Adjust the chin strap and rear dial until it stays stable while you move. Aftermarket padding is a solid comfort upgrade for long games, so re-test the fit after adding any Airsoft helmet accessories.
Add a Helmet Cover, Patches and Camouflage
A helmet cover changes your color or camo, protects the shell, and adds attachment points. If you're working from a black helmet and want to switch to tan or MultiCam without buying a new shell, a cover is the fastest way to give it some personality. Make sure the cover matches your helmet model and shell size.
Add patches with hook-and-loop backing without covering vents, rails, or adjustment points. Paint and wraps let you personalize the shell with a custom look, so follow the care instructions.
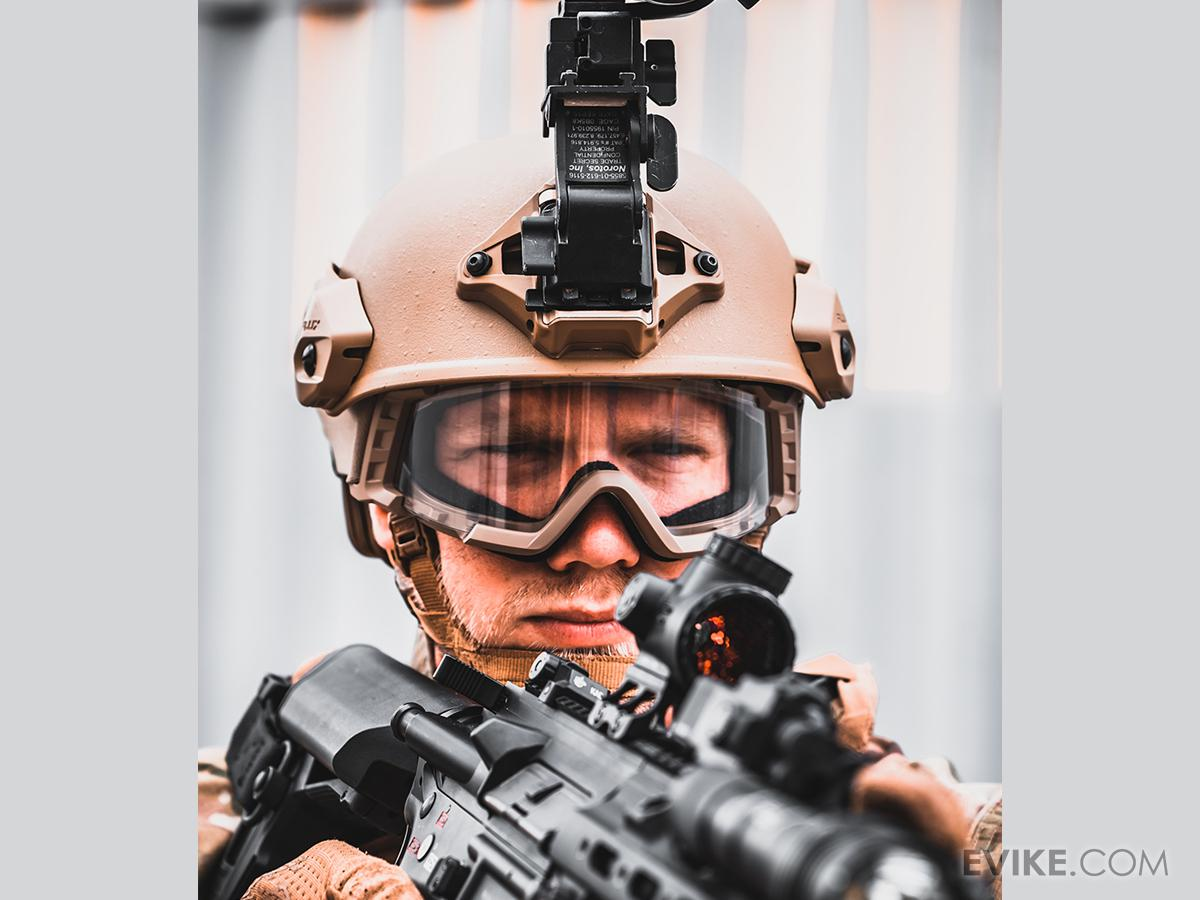
Make Your Helmet Work With Eye and Face Protection
Treat your helmet, goggles, and lower-face mask as one system. Check for gaps and confirm the helmet does not break the goggle seal. Rail-mounted mask clips, side plates, or a mandible, and helmet-compatible Airsoft masks all give you solid lower-face protection. Just remember that costume gas masks or decorative lenses may not be impact-rated for Airsoft.
Add Hearing Protection and Communications
Good ear protection and clean communications both attach to your helmet, so plan them together with your headset in mind. Electronic hearing protection lowers loud noises while letting you hear teammates talk. Meanwhile, physical ear covers may block Airsoft BBs, but do not actually protect your hearing.
Mounting a Headset
You can wear a headset under the helmet or mount it to the rails on the side of your helmet. Rail adapters reduce headband pressure, but they must match both your rail system and your headset. Check that the ear cups seal and can swing away from your ears.
Connecting a Radio and PTT
A mic, radio, and Push-To-Talk (PTT) unit turn your gear into a hands-free comms setup. Confirm connector compatibility among your headset, PTT, and radio, since not every two-pin or single-pin connector is interchangeable even when it looks like it should fit.
Mount a Helmet Light or Gameplay Camera
Rail and shroud mounts let you add a light or camera mounted on your helmet without changing how you grip your replica.
Helmet Lights
A rail-mounted flashlight gives you hands-free illumination without raising your Airsoft gun, which matters just as much when you're reloading a magazine or checking a map as it does when you're not relying on a weapon-mounted light for everything.
Choose a compact light with a secure mount and glove-friendly controls. Follow your field rules on lights, lasers, and pyrotechnics.
Helmet Cameras
A front- or rail-mounted action camera lets you record your gameplay from your point of view. Use a secure mount plus a secondary retention tether, since placement affects weight, field of view, and snag risk.
How to Mount Night Vision on an Airsoft Helmet
NVGs need a compatible front shroud, mount, and interface, so match every piece before you trust gear to your helmet. A dovetail-style mount is common on the front of your helmet, but do not assume universal compatibility.
Some devices are functional night vision goggles or cameras, while others are dummies for looks. Modern NVGs, like a PVS-14-style unit, need a rated interface such as the L4G24, and you should never trust expensive NVGs to a display-only replica mount.
Use a Retention Lanyard
Connect your NVGs with a secondary lanyard so a mount failure does not drop the device. The lanyard should stay secure without blocking mount movement.
Add a Battery Pack or Counterweight
A rear battery pack or battery pouch extends run time and counterbalances front weight. A counterweight pouch works when there is no external battery. Add only enough weight to the back of the helmet to balance it out.
Manage Cables and Balance the Helmet
Route cables along the shell using your helmet cover, hook-and-loop tabs, guides, or elastic. Keep wires away from your eyes, chin strap, dial, and moving mount parts.
Spread weight across the front, sides, and rear, then run a full movement test: run, look up and down, shoulder your Airsoft gun, and move between standing, crouching, and kneeling to confirm nothing shifts.
Airsoft Helmet Setup Examples
Here are three practical helmet builds, sorted by experience level and the kind of gameplay you show up for.
Basic or CQB Helmet Setup
Run a lightweight high-cut helmet, adjusted padding, full-seal goggles, and compatible lower-face protection. Add only an optional cover, an ID patch, or a small light.
Outdoor or Milsim Helmet Setup
Built for longer Military Simulation (MilSim) games, add a cover, an electronic headset, rail adapters, radio comms, and a compact admin light. Focus on cable management and ventilation.
Night Game or Recording Setup
Use a rated front shroud, a compatible NVG or camera mount, a retention lanyard, and a rear battery or counterweight pouch. Balance the setup and avoid heavy front-mounted stacks.
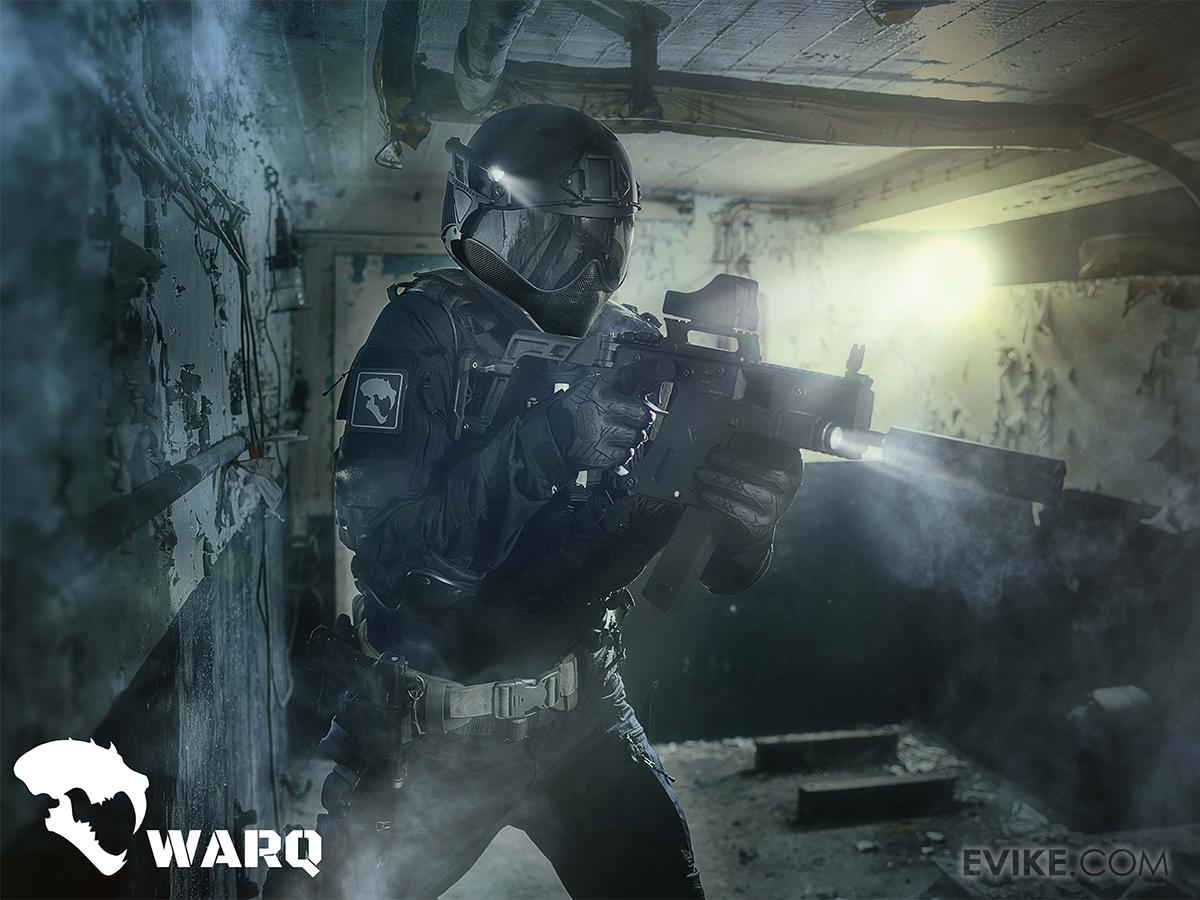
Common Airsoft Helmet Setup Mistakes
Avoid the setup mistakes that trip up new players:
- Buying accessories before verifying compatibility.
- Overtightening the chin strap to hide a wrong-sized shell.
- Stacking too much front weight, which strains your neck and leaves the helmet front-heavy.
- Leaving cables loose or devices unsecured.
- Blocking vents or creating gaps in your eye protection.
- Piling on every accessory, which cuts comfort and function.
How to Clean and Maintain an Airsoft Helmet
Keep your setup game-ready with a simple routine:
- Wipe down the shell, rails, and straps after dusty, muddy, or sweaty games.
- Remove and hand-clean any washable pads according to the manufacturer's instructions.
- Inspect screws, mounts, clips, cables, and lanyards before you play.
- Replace damaged parts instead of running an unstable setup.
Build Your Airsoft Helmet Setup at Evike.com
A strong Airsoft helmet setup starts with the correct size and attachment system, then adds only the accessories your playstyle actually needs. Keep it secure, balanced, and fully compatible with your eye and face protection.
Evike.com stocks the helmets, covers, rails, padding, mounts, lights, comms, and helmet accessories you need to build it all in one place, whether you're gearing up for your first CQB game or refining a MilSim loadout.
FAQs
Are Airsoft Helmets Ballistic?
Most Airsoft helmets are replicas or bump-style shells, so they do not provide ballistic protection.
Can You Wear Goggles Under an Airsoft Helmet?
Most Airsoft helmets work with goggles as long as the combo keeps a comfortable fit and a complete seal.
Can You Mount a GoPro to an Airsoft Helmet?
Yes, cameras mount with a compatible front-shroud or rail adapter plus a retention tether for safety.
How Do You Stop an Airsoft Helmet From Moving?
Dial in correct sizing, pad positioning, the rear dial, chin-strap fit, and balanced accessory placement.
What Should You Put on an Airsoft Helmet First?
Start with fit, eye-protection compatibility, and your essential safety gear before anything else.